Quick Start
The Role Manager is an open source, UI tool you can use to provide your users a way to easily assess the status of the roles involved with your smart contracts. The interface is built specifically for the official OpenZeppelin AccessControl and Ownable contracts.
The OpenZeppelin Role Manager allows anyone to simply plug in a contract address and:
- see details relevant to role management, including detection of what OpenZeppelin Access Control implementations are used,
- what roles are active and who has what roles,
- indexed role-related transaction history,
- an interface to prepare and execute role management such as assignment or revocation of specific roles.
The Role Manager currently supports the Stellar Mainnet and Testnet. Future support will be provided for other networks.
A walkthrough of the Role Manager is shown in the video below. Feel free to watch it and follow along with the rest of this page.
Getting Started
Visit rolemanager.openzeppelin.com to get started.
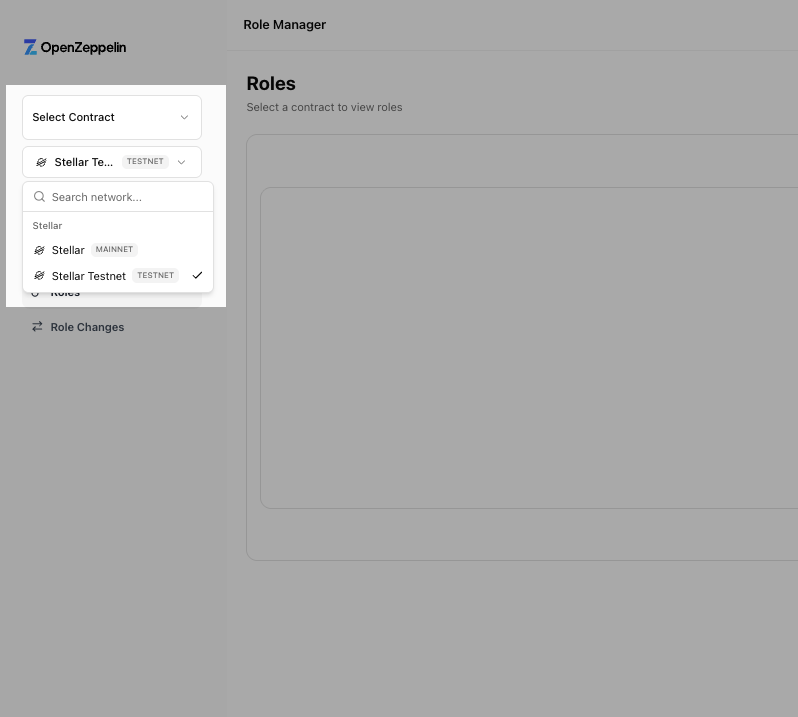
1. Select Network
First select the network your contract is deployed to.
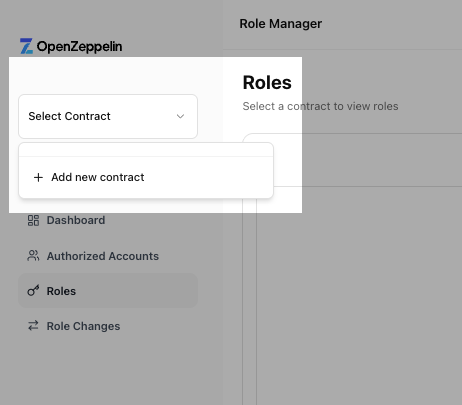
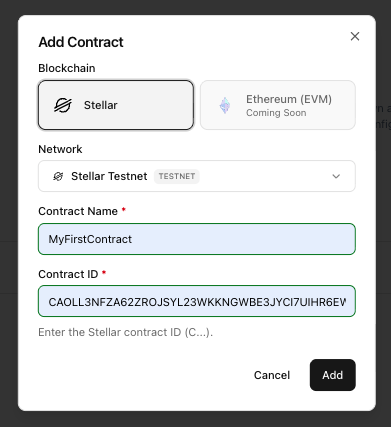
2. Provide Contract Name and Address
Fill in the name and onchain address for the contract that you are working with. The indexer that is deployed inspects the contract provided.
3. Review the Contract Roles Related Details
The first page of the UI shows a dashboard where you can view the basic details of the smart contract, including:
- the types of role related details implemented,
- the number of different roles,
- the number of accounts that hold the different roles
- any pending role changes
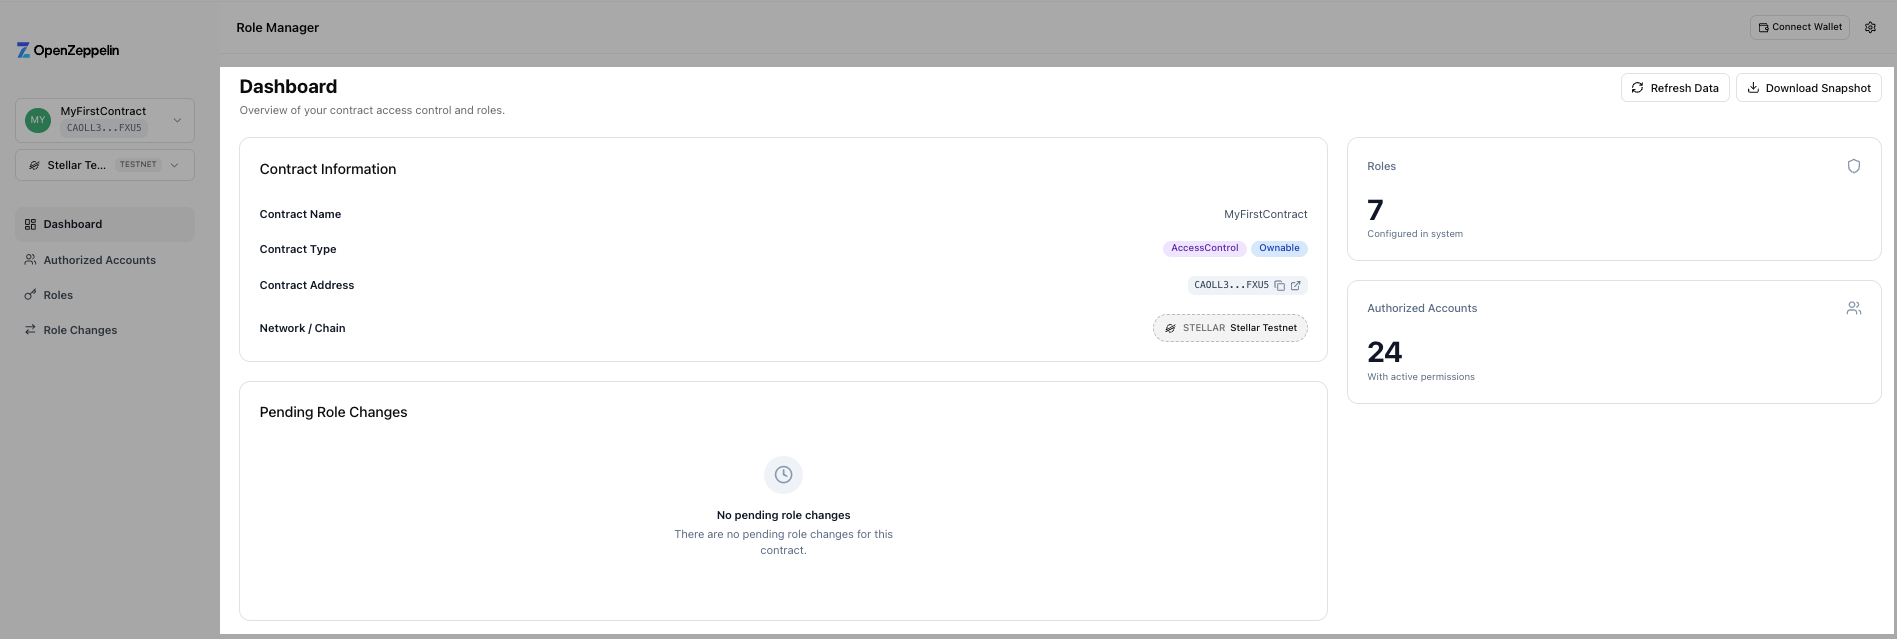
Throughout each of the pages, the data can be refreshed. On this page, a JSON snapshot of the current contract state (capabilities, role assignments) can be exported at any point as well.
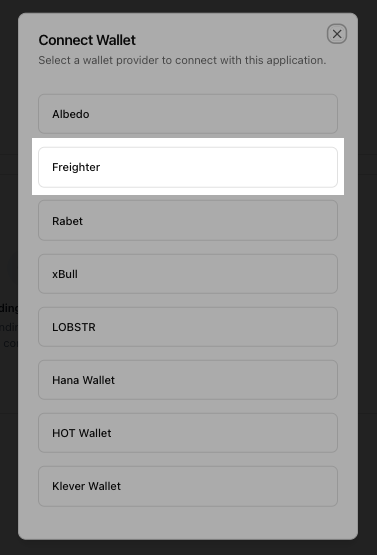
Before moving onto the next step, connect your Stellar-supported wallet using the UI. We'll use Freighter:
4. Review the Authorized accounts
The next page displays all of the accounts, their role status (active or pending), their respective roles, and the ability to edit their roles. You can filter the page based on the roles and status.
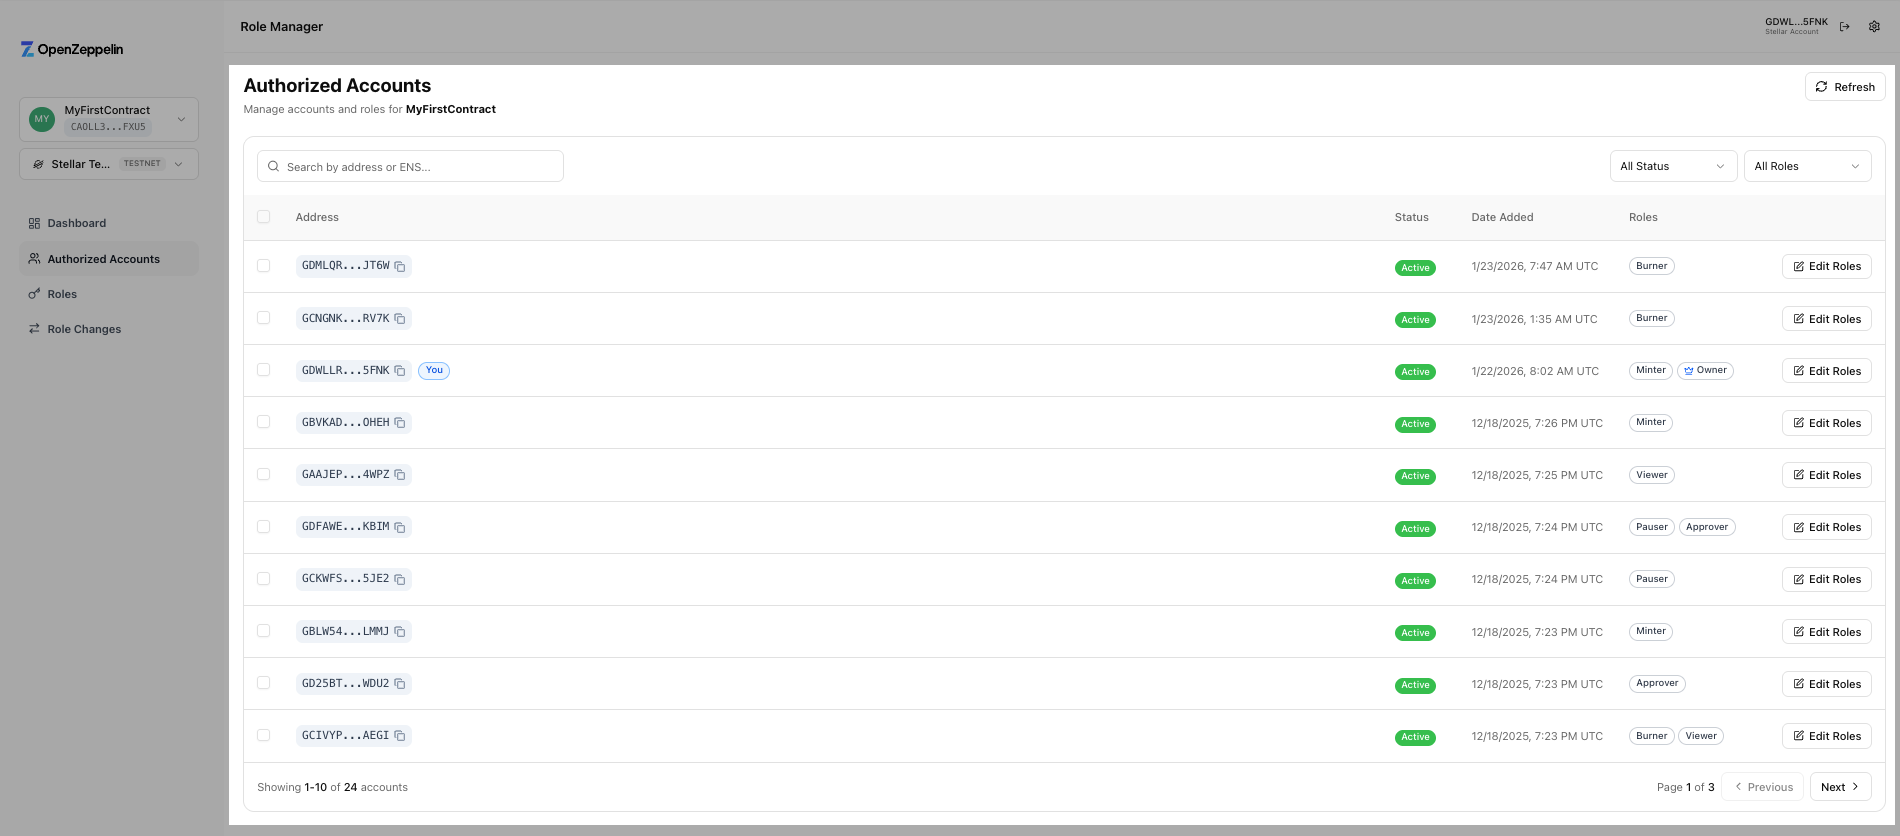
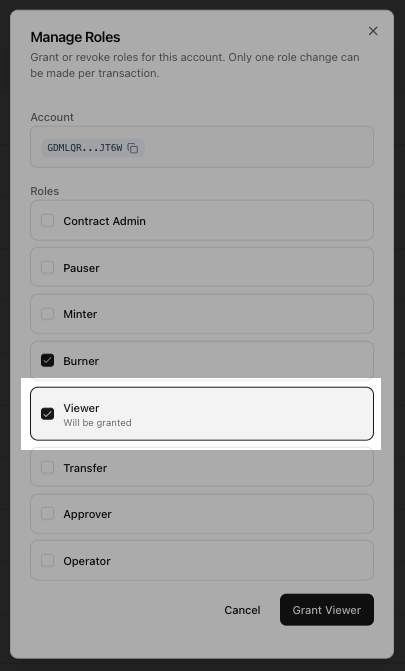
Editing other accounts' roles requires the appropriate permissions from the connected wallet, of course. It is a simple as checking off the onchain change you would like to implement.
The
AdminandOwnerroles require two steps when transferring their roles within the Stellar networks.
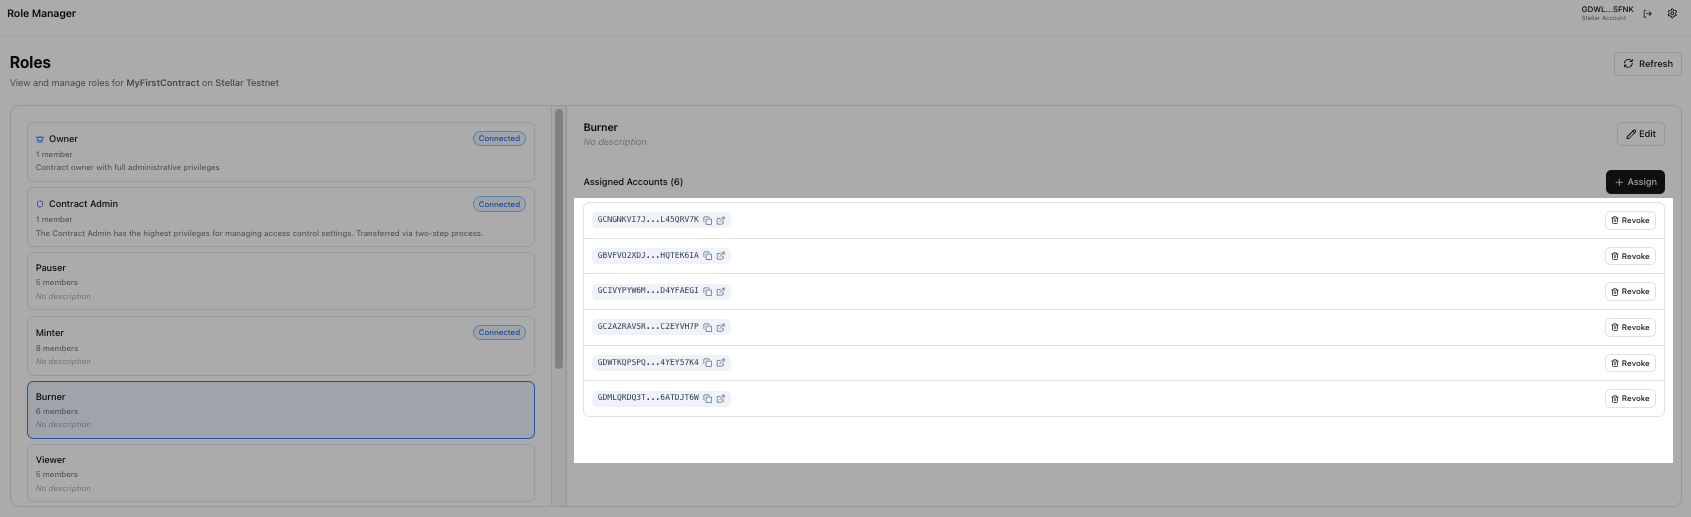
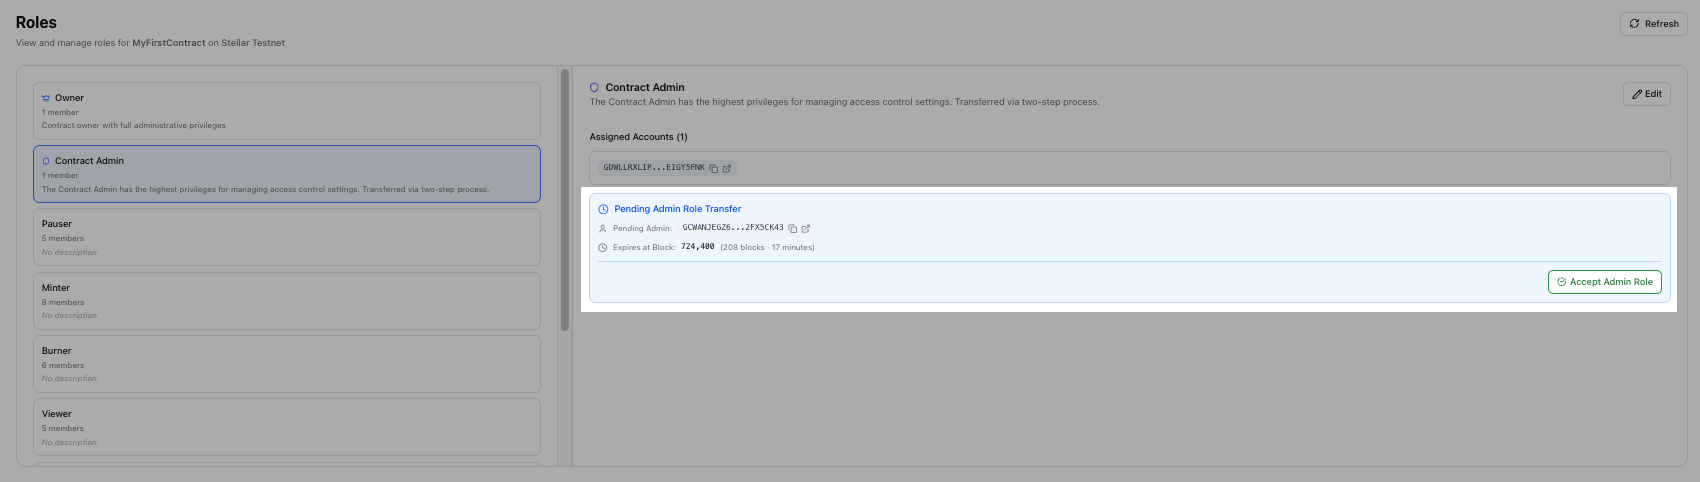
5. Manage Roles
The next page, titled Roles, provides a simple UI where the different roles are listed with some pertinent details. These include: number of accounts assigned this role, the role name and description.
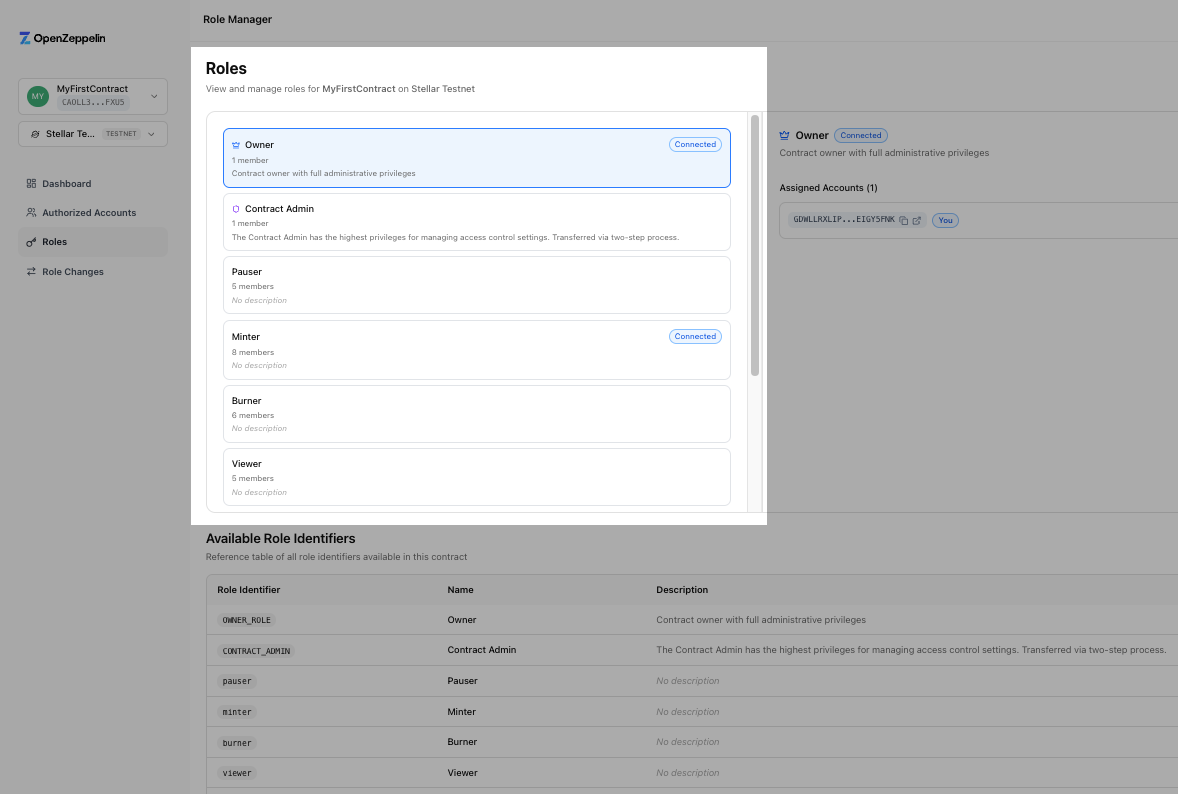
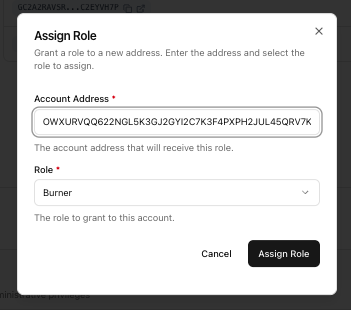
As you select different roles, respective details for each are displayed on the right hand side of the page. Here you can revoke or assign roles to different accounts, if you have the correct permissions to do so.
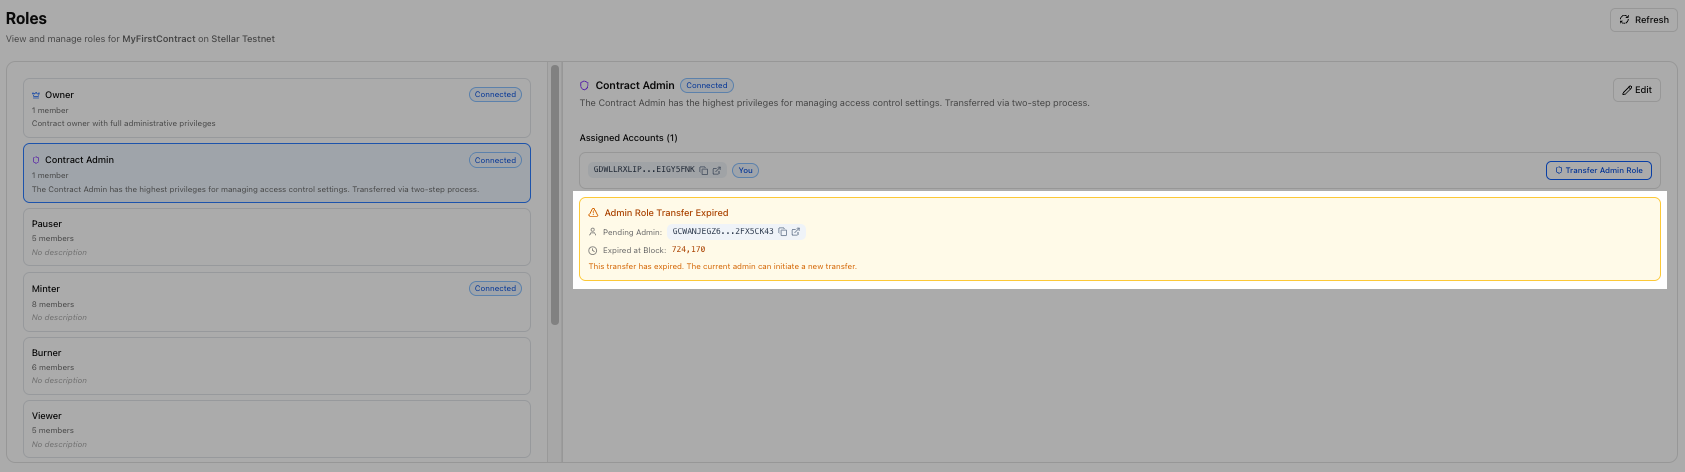
You can even initiate a Contract Admin or Owner role transfer, and connect the accepting wallet for the role tranfer.
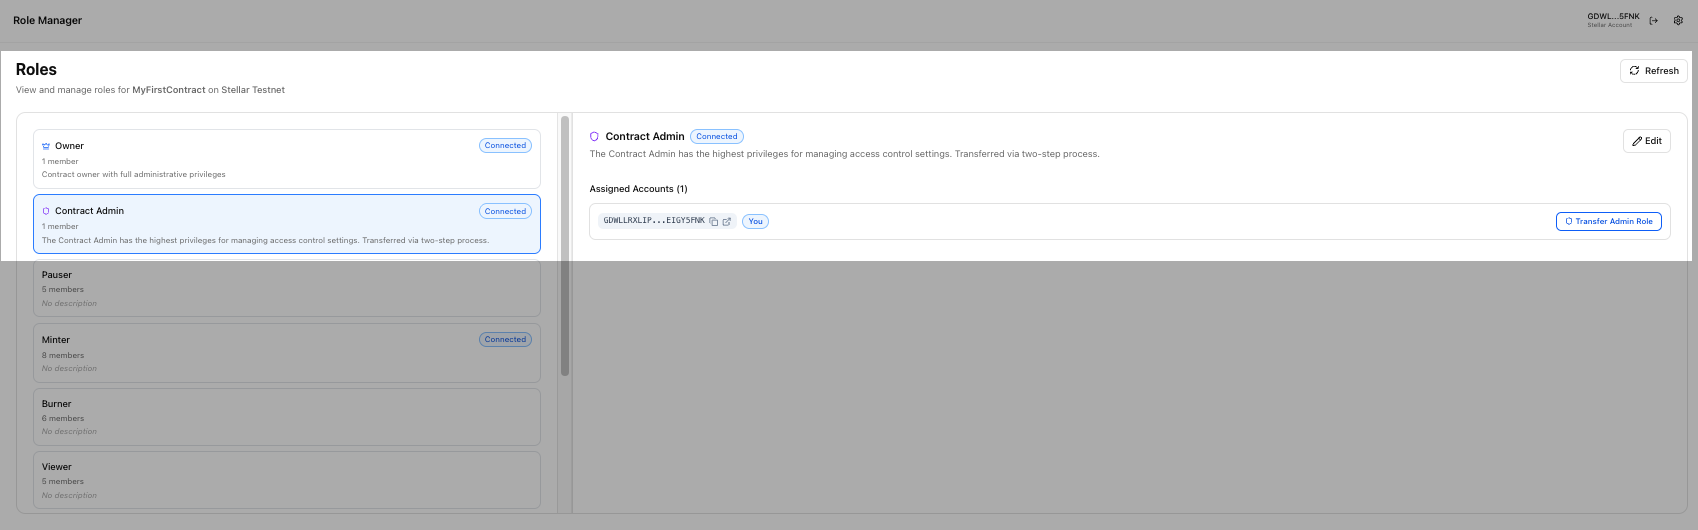
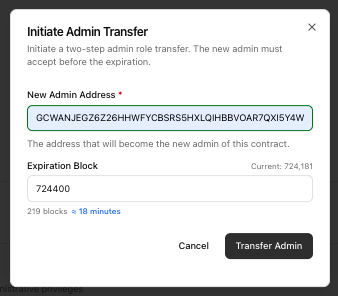
If the defined block expiration date is passed, the expired transaction is shown until a new two-step role transfer transaction is initiated.
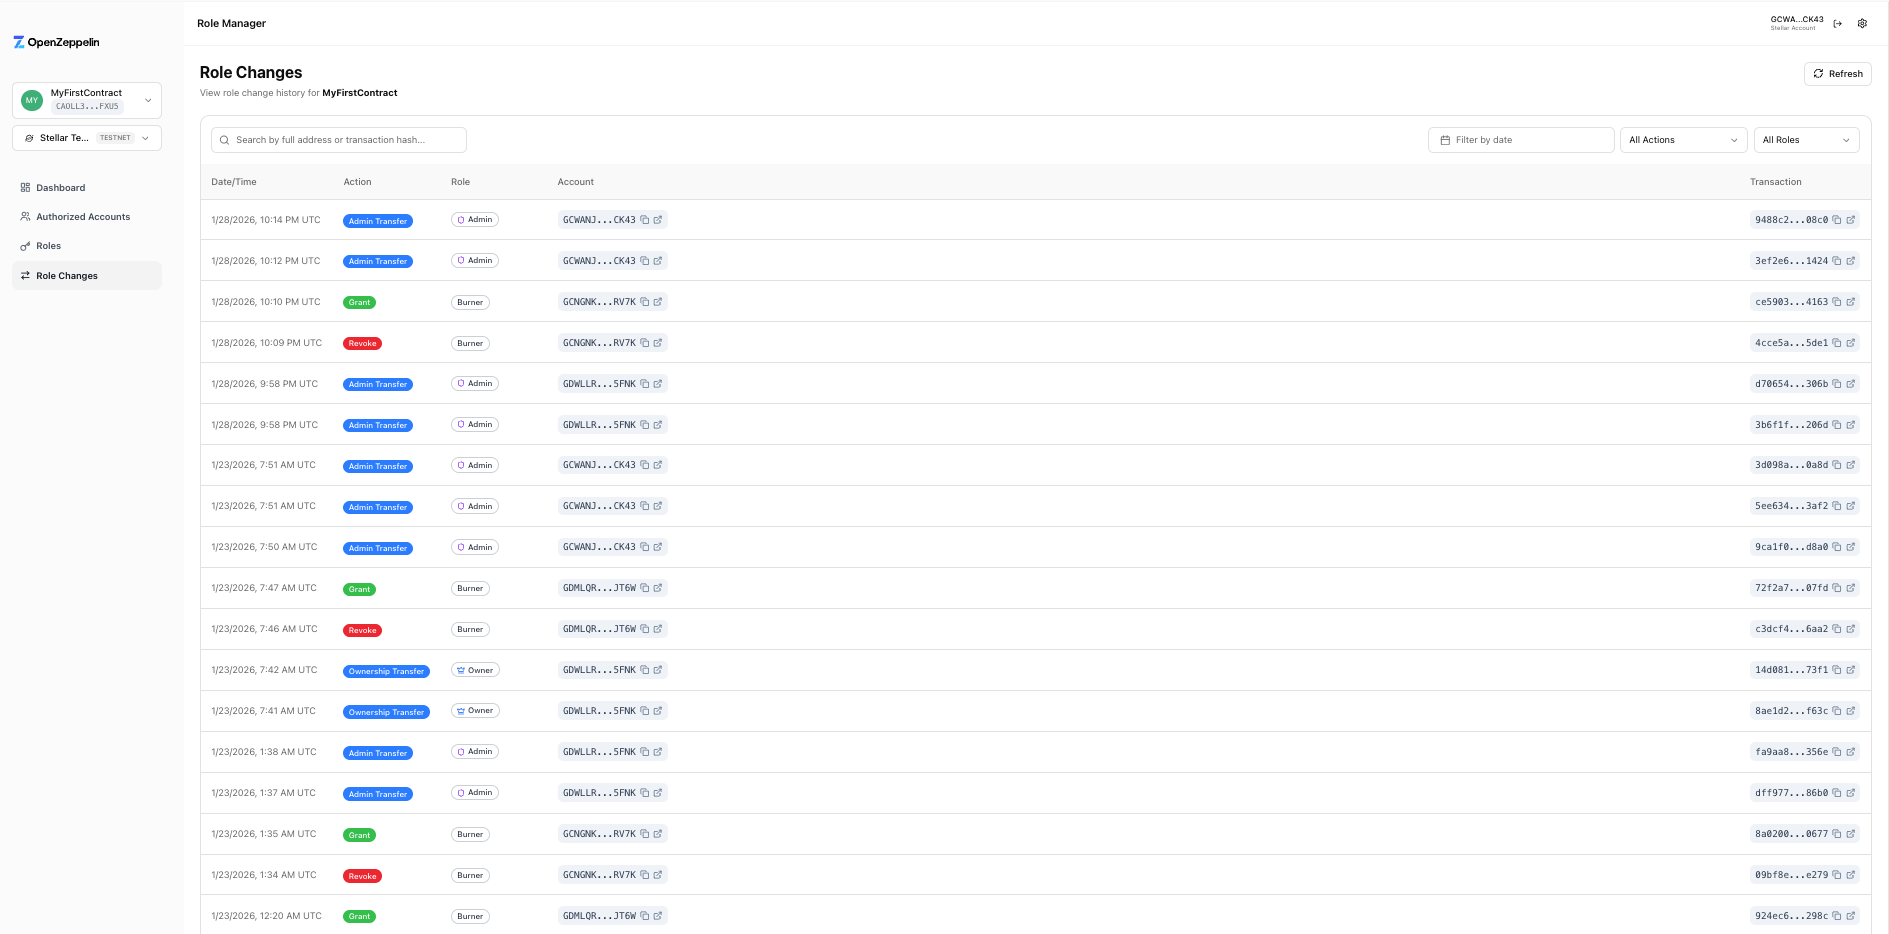
6. Role-Related Transaction History
The final page of the UI tool showcases the contract's role-related transaction history. This is made possible because of the deployed indexer inspecting the onchain data. The public indexer URL can also be replaced in the UI to improve the workflow's robustness.
The changes we incurred in the prior steps can be seen in the contract transaction history.
Next Steps
The Role Manager is a useful tool for teams that need to test and carry out their onchain role management, and soon will be available for various ecosystems.
Since it is built off of the same technology stack as the UI Builder, it can also act as a kickoff point for teams looking to build their own UI tool that helps their users carry out the permissioned roles themselves. Take a look at the UI Builder and its repo to better understand its tech stack that can be customized. The UI Builder is an example of what can be built using the UI Kit and Adapters.
Visit the Role Manager Github repo with the link below and open an issue if you have any problems!